How to Add and Update WordPress Options
In WordPress, there is something called “options table” that is used by developers to create plugins and templates for storing information that would otherwise have to be saved in another table or in a file. If the prefix of the tables is wp_, the name of the options table is wp_options. This table cannot be accessed directy, it can only be edited by specific functions.
Functions and examples
The parameters that are used for the functions (note that not all of them are used for every function):
- name: The name of the option to be added/updated/deleted
- value: The initial value of the option.
- depcrecated: This parameter is optional and is no longer used, just add ” to your code.
- autoload: This parameter is optional. The values are yes or no and the default value is yes. Choose if you want the option to be automatically loaded on every page load.
add_option();
This is an example for adding an option:
add_option( 'arrowDesign_my_unique_optionName' , '' );
To add an option that does auto load, add a no for the last parameter:
add_option( 'arrowDesign_my_unique_optionName' , '' , '' , 'no');
get_option();
With the function get_option() you can retrieve the value of an option. If you have set automatic loading for the option, the value is generated on the option cache and if you have not set it, the value is generated via a database request.
get_option( 'arrowDesign_my_unique_optionName' );
update_option();
The function update_option() is used to edit an option. The first parameter is the name of the function to be updated and the second parameter is the new value of the option.
update_option( 'arrowDesign_my_unique_optionName' , 'arrowDesign_my_value' );
delete_option();
delete_option() is used to delte an option, for example if you are deleting a plugin. The parameter for the function is the name of the option to be deleted. But be careful what you delete from this table, you could destroy your WordPress installation.
delete_option( 'arrowDesign_my_unique_optionName' );
Conclusion
We hope this How to Add and Update WordPress Options post was helpful and you are now able to use this information on your own WordPress website! You can find more articles here:
Another WordPress post: ‘Add a Footer Text to the WordPress Login Page‘
SQL post : ‘WordPress SQL Statements‘
Arrow Design, based in Dublin, Ireland, provides quality website design services in Dublin and beyond at affordable prices. If you would like help with implementing the above code, or any wordpress website development project, contact us. We love website design and it shows! We provide custom wordpress plugin development, website design training and lots more.
We do it all, so you don’t have to!
Related Posts

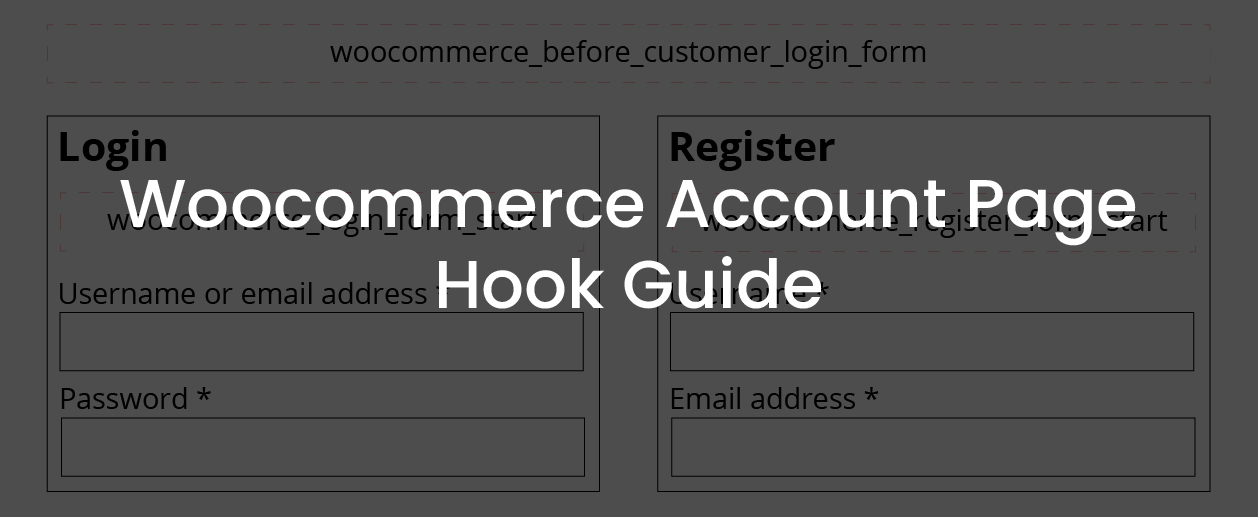
Woocommerce Account Page Hook Guide
In this article you will find a visual hook guide for the Woocommerce Account Pages, like the Login/Register page, the Downloads page or the Orders page.

Woocommerce Single Product Page Hook Guide
In this article you will find a visual hook guide for the Woocommerce Single Product Page. This should help you to quickly and easily find the hook positions on the page.

Woocommerce PHP – Product Categories by Product ID
In this tutorial you will learn how to check if a product is assigned to a tag, a category or a custom taxonomy. You can check if a product is is on the shop page, in the cart, in an order & more.
…We do more, so you can do less 🙂


