Face Swap Tutorial
Adobe Photoshop is one of the greatest tools for any website designer. It is often used to ensure that people, places and products look as good as possible. Learning how to master all the tools provided by photoshop is likely to take a very long time but learning the basics can provide some fun. A face swap tutorial is a great way to learn web design skills. This face swap tutorial will teach you some of the basics and can provide great amusement in the process. You can download a trial version of photoshop here and once you play with it, you will get much better results than some recent ‘face swap’ apps that have been doing the rounds.
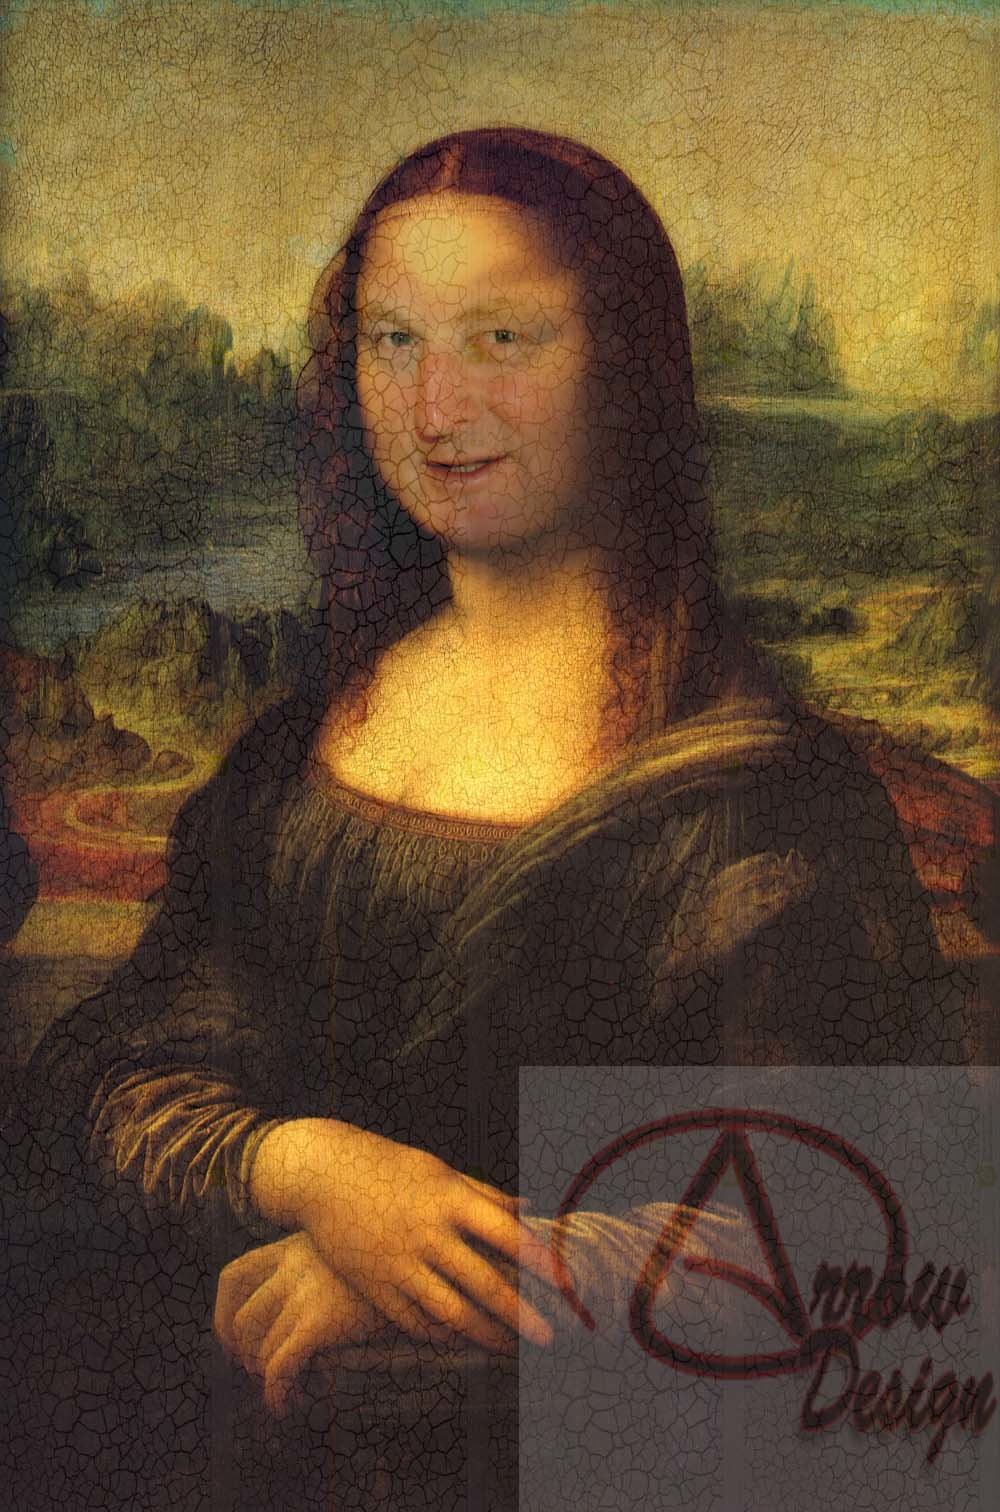
This tutorial will give you the basic knowledge needed to swap a face using photoshop and make it look closer to perfect than the other apps available. The example below is not perfect but was put together in about 4 minutes and I think you will agree it is better than what will be the result of the other apps available. You can make yours perfect – just take a little more time 🙂
The Photoshop tools you will use during this face swap tutorial are:
Selecting by Using Polygonal Lasso Tool
How to Modify Your Selection Range
Auto-Blending Layers
Adjusting Hue and Saturation of Colours
The tutorial will be as short as possible – the key is to play around with the tools and get used to how they work.


Face Swap Made Easy
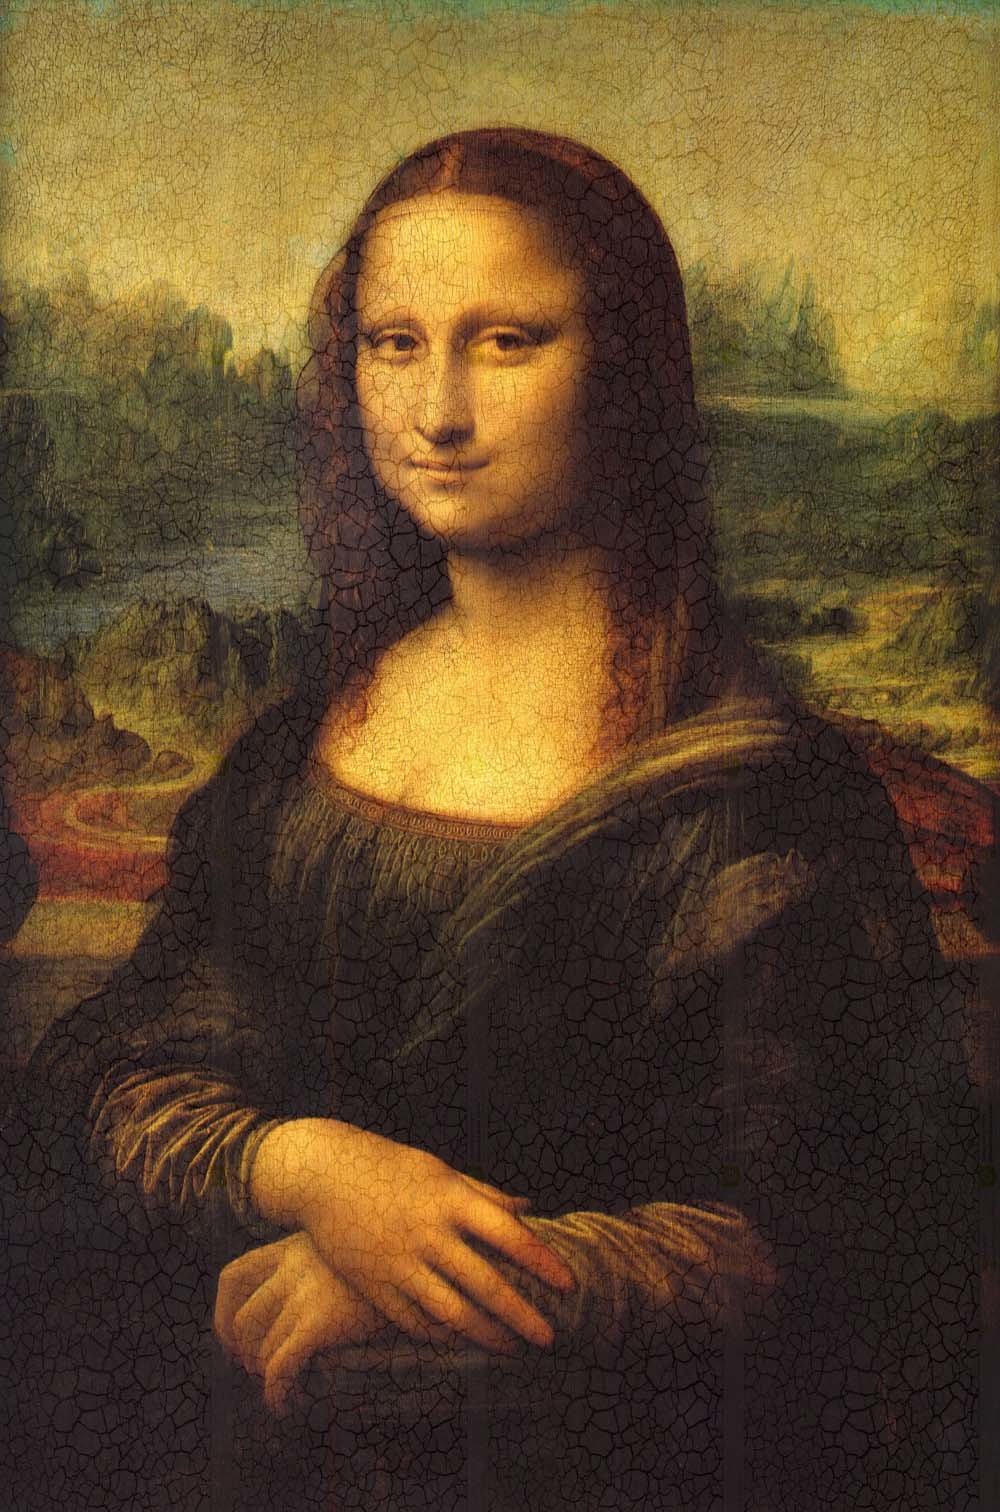
Open the image you want to use as the background and paste the new image on top. (This creates a new ‘layer’)
Use the move tool (little arrow that is the top of the list on the left) to move the new face roughly over the background face.
Use the ‘opacity tool’ (about half-way down on the right) to allow you to line up the eyes of the face to be swapped (press enter when happy)
Choose the polygonal lasso tool (3rd down on left hand menu) to roughly select the face to swapped
Right click, select inverse and press delete
Choose ‘select’, modify, contract and contract the selection by about 5 pixels
Select the background image (layer 1) by clicking on the layer on the right hand side (it will be the one underneath your current layer selection)
Click delete
Select both layers by clicking on them while holding down control
Choose ‘edit’, ‘autoblend layers’ (panorama, seamless tones and colours)
… If you are not happy with the image colours, choose ‘image’,’adjustments’,’hue/saturation’
Done, Enjoy!
Arrow Design – FOR ALL YOUR DUBLIN WEBSITE DESIGN NEEDS
…We design more, so you have to do less 🙂
Leave a message and we will be straight back to you!
Social Media
Payments Accepted

Request a Callback
Contact Details
Phone: 01 536 3049
Mobile: (087) 13 77 382
Email: info@arrowdesign.ie
Address:
The Chase, Arkle Rd,
Sandyford, Dublin 18,
D18 Y3X2
